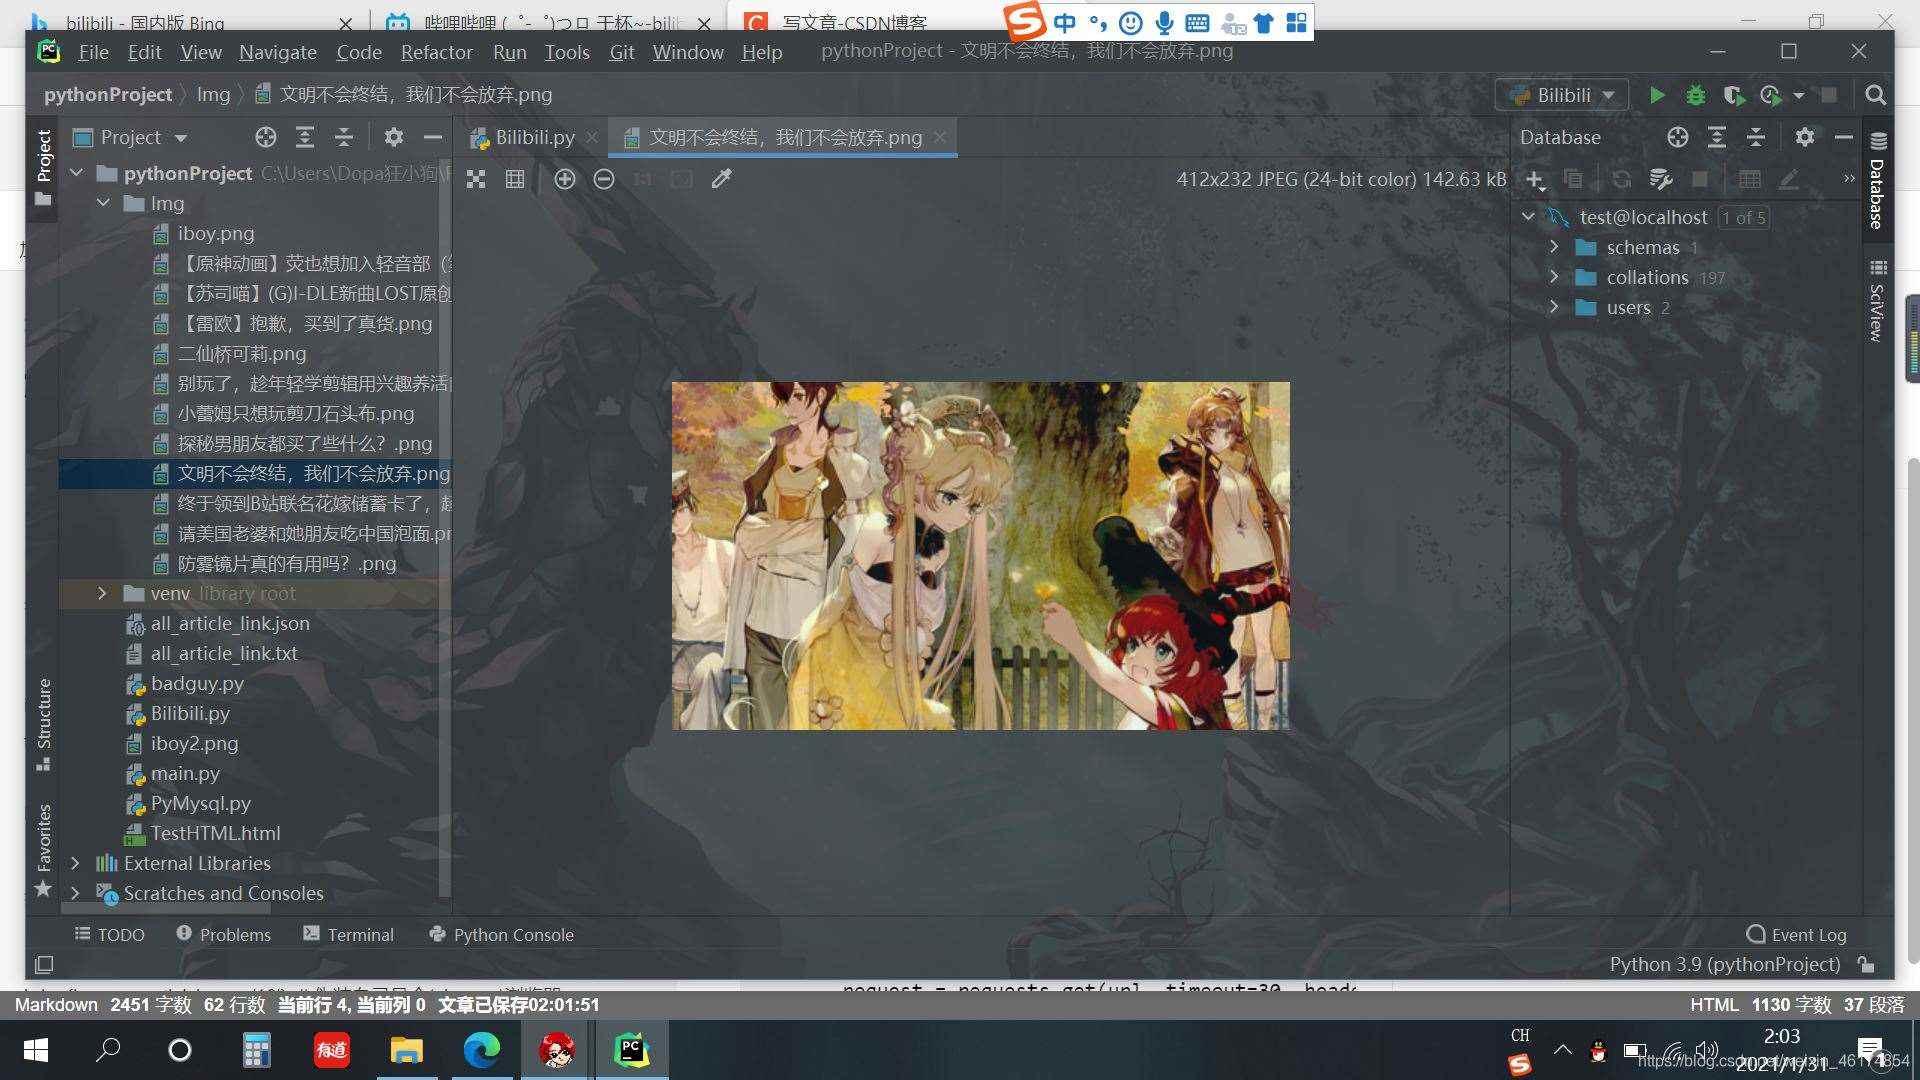
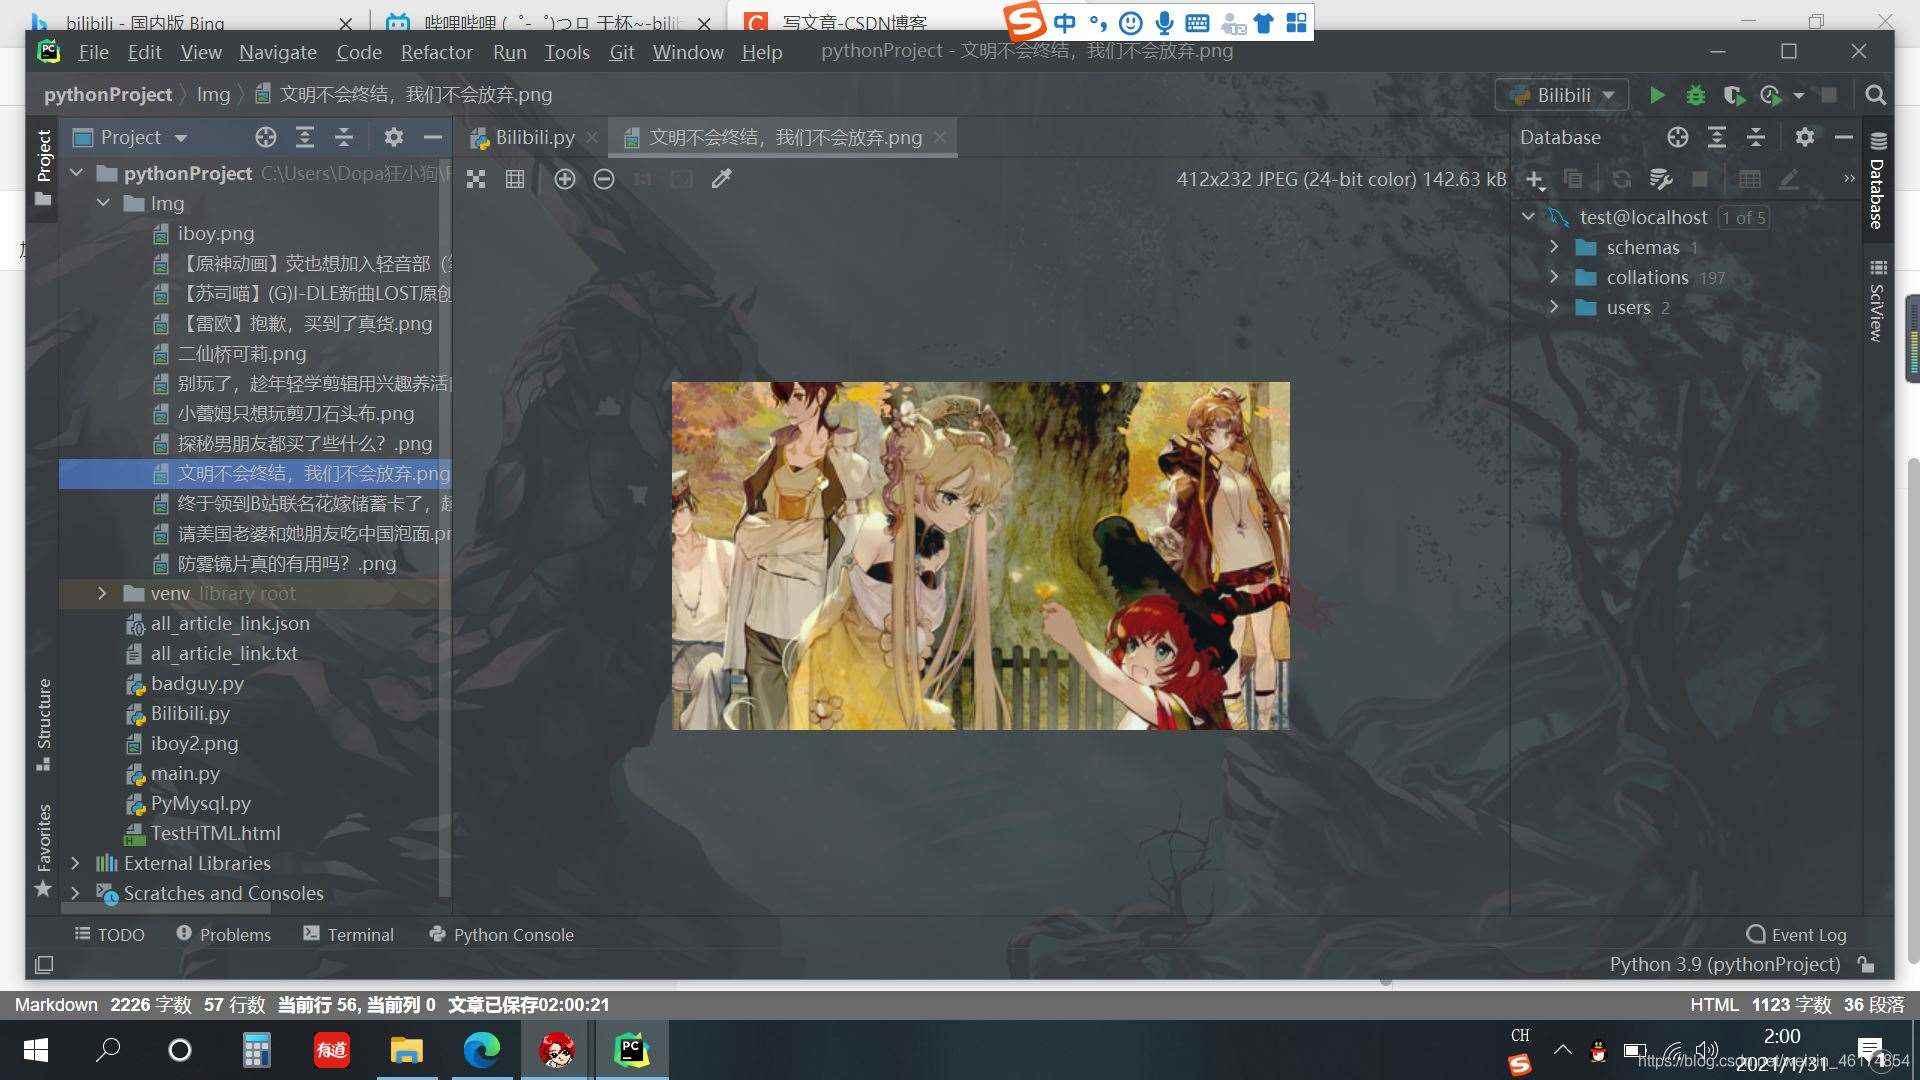
先看看结果吧,去bilibili上拿到的图片=-=
第一步,导入模块
import requests
from bs4 import BeautifulSoup
requests用来请求html页面,BeautifulSoup用来解析html
第二步,获取目标html页面
hd = {'user-agent': 'chrome/10'} # 伪装自己是个(chrome)浏览器=-=

def download_all_html():
  try:
    url = 'https://www.bilibili.com/' # 将要爬取网站的地址
    request = requests.get(url, timeout=30, headers=hd) # 获取改网站的信息
    request.raise_for_status() # 判断状态码是否为200,!=200显然爬取失败
    request.encoding = request.apparent_encoding # 设置编码格式
    return request.text # 返回html页面
  except:
    return ''
第三步,分析网站html构造
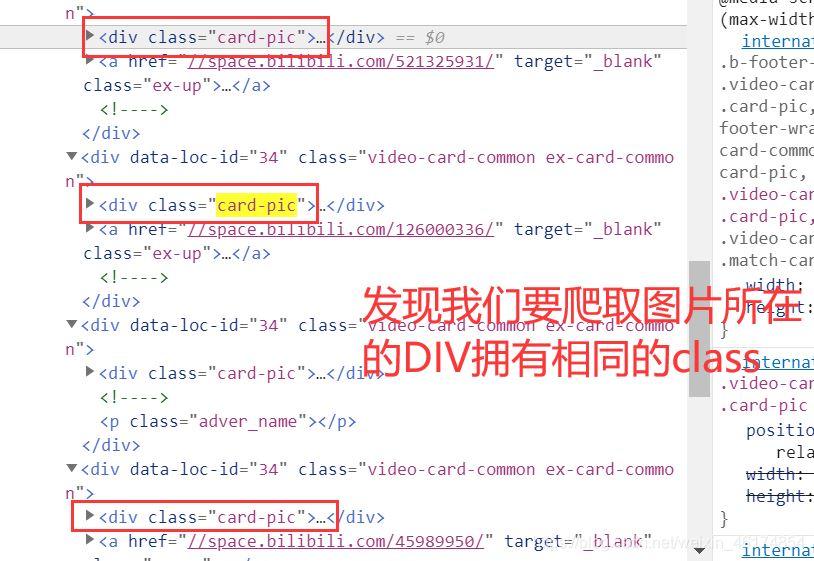
1、显示网站html代码

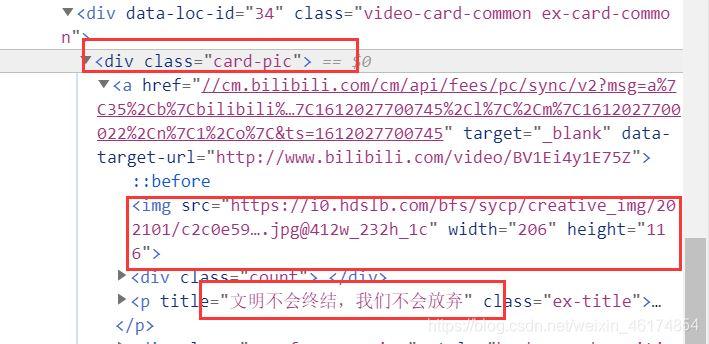
2、找到图片位置

3、分析
第四步,直接上代码注释够详细=-=
def parse_single_html(html):
  soup = BeautifulSoup(html, 'html.parser') # 解析html,可以单独去了解一下他的使用
  divs = soup.find_all('div', class_='card-pic') # 获取满足条件的div,find_all(所有)
  for div in divs: # 瞒住条件的div有多个,我们单独获取
    p = div.find('p') # 有源代码可知,每个div下都有一个p标签,存储图片的title,获取p标签
    if p == None:
      continue
    title = p['title'] # 获取p标签中的title属性,用来做图片的名称
    img = div.find('img')['src'] # 获取图片的地址
    if img[0:6] != 'https:': # 根据源代码发现,有的地址缺少"https:"前缀
      img = 'https:' + img # 如果缺少,我们给他添上就行啦,都据情况而定
    response = requests.get(img) # get方法得到图片地址(有的是post、put)基本是get
    with open('./Img/{}.png'.format(title), 'wb') as f: # 创建用来保存图片的.png文件
      f.write(response.content) # 注意,'wb'中的b 必不可少!!


parse_single_html(download_all_html()) # 最后调用我们写的两个函数就行啦,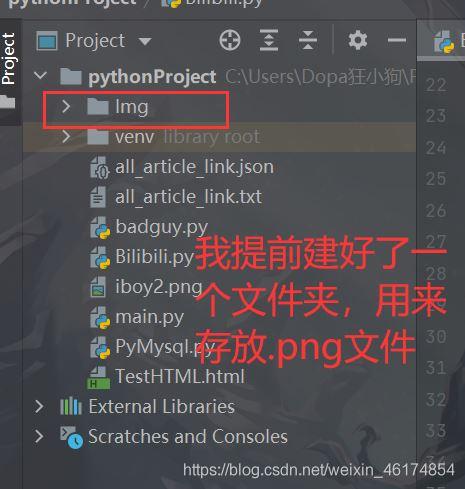
查看结果
到此这篇关于Python爬取网站图片并保存的实现示例的文章就介绍到这了,更多相关Python爬取图片保存内容请搜索python博客以前的文章或继续浏览下面的相关文章希望大家以后多多支持python博客!
-
<< 上一篇 下一篇 >>
标签:requests
Python爬取网站图片并保存的实现示例
看: 1574次 时间:2021-03-18 分类 : python爬虫
- 相关文章
- 2021-07-20Python爬虫基础之爬虫的分类知识总结
- 2021-07-20Python爬虫基础讲解之请求
- 2021-07-20PyQt5爬取12306车票信息程序的实现
- 2021-07-20Python爬虫之m3u8文件里提取小视频的正确姿势
- 2021-07-20如何用python抓取B站数据
- 2021-07-20快速搭建python爬虫管理平台
- 2021-07-20Python爬虫之获取心知天气API实时天气数据并弹窗提醒
- 2021-07-20Python爬虫之批量下载喜马拉雅音频
- 2021-07-20python使用pywinauto驱动微信客户端实现公众号爬虫
- 2021-07-20Requests什么的通通爬不了的Python超强反爬虫方案!
-
搜索
-
-
推荐资源
-
Powered By python教程网 鲁ICP备18013710号
python博客 - 小白学python最友好的网站!